Fire rated roller shutters protect escape routes and openings in malls, car parks, and commercial buildings. Once installed, you should run the fire rated shutter acceptance checks below before signing off the job. RHIDOOR lists the points our installers verify on every unit.

Fire Rated Roller Shutter Test Standards
The shutter goes through a fire-door heating test by a recognized testing body. If it meets every check below, it earns the top fire-resistance duration class. Meeting only some checks places it in the lower class.
- No harmful deformation, fall-off, or damage from the fire test.
- No flame passes through the solid unheated face, and no harmful cracks or holes appear.
- In the heating test, no part of the sample bows or deflects more than half the leaf thickness.
- In the heating test, no burning flame shows on the unheated face.
- The highest temperature on the unheated face stays under 960°C.
Appearance and Frame Inspection
Start with the paperwork and the frame. Observe and check the product certificate and the on-site acceptance record. Confirm the frame is firmly installed. Check that the position and opening direction match the design. Verify the count, position, embed, and connection of the embedded iron parts against the design.
Basic Operation Check
Check the basic items next. A passing unit closes tight, opens and closes freely, shows no deformation or warp, seals well on a soundproof model, and auto-closes quickly. A good unit also shows no block, no rebound, and looks clean. On a fire model, the auto-close should be quick and positive.
Accessory Inspection
Finish with the accessories. A passing set is complete, firmly installed, in the correct position, and opens and closes smoothly for its use. A good set is also straight, fits the use, and looks right.
These checks cover the backbone of fire rated shutter acceptance. A fire rated roller shutter only protects people if it was fitted and verified correctly. RHIDOOR supplies the shutter and provides on-site guidance, not just a product — our team fits and checks each unit on your site. Call for advice.
Related Articles
- Things to Watch During Fire Rated Roller Shutter Installation
- How to Inspect a Roller Shutter Motor After Install
- Fire Rated Roller Shutter Acceptance and Testing Standards
- Fire Rated Roller Shutter Installation Steps
When the patch job stops paying off and you’re ready to replace it, RHIDOOR builds to order at MOQ 1 pc with a 15-day lead time — so the new roller shutter lands before the old one lets you down again.
Ready to upgrade your facility? Let our experts help you find the right RHIDOOR fire rated roller shutter for your site. Contact us today: phone +86 18938501256, WhatsApp wa.me/8618938501256, email ruihua@rhidoor.com.

Related Articles
- complete fire-rated roller shutter guide
- fire-rated roller shutter acceptance testing
- fire-rated roller shutter installation notes
- where to place a fire-rated roller shutter
- inspect a roller shutter motor after install
A crystal roller shutter pairs a transparent polycarbonate curtain with an electric motor. Most faults trace back to the drive, the brake, or the chain. This crystal electric shutter troubleshooting guide walks through the common failure points you can check before calling a technician.

Crystal Roller Shutter Motor Will Not Start
The motor may refuse to run for several reasons. Work through them in order.
- A short circuit in the wiring.
- A faulty running capacitor.
- A damaged bridge rectifier, a failed electromagnetic coil, or a stuck brake.
- The limit switch normally-closed contact has opened.
- The relay coil is oxidized, damaged, or contaminated.
- The overheat protection has failed.
- The brake is stuck.
- The motor ran too long and tripped its thermal protection.
Crystal Electric Shutter Brake Slip
A slipping brake lets the curtain creep down under its own weight. Check these three points.
- The brake pad has soaked up oil.
- The spring compression has dropped.
- The electromagnetic unit may be fitted the wrong way around.
Manual Chain Will Not Pull
When the electric drive fails, you switch to the hand chain. If it will not pull, look at two things.
- The ring chain has jammed in the cross slot.
- The electromagnetic fasteners have come loose.
Gravity-Drop Failure
The shutter should lower under control when released. A failed gravity drop usually comes from one of these.
- The manual pull rod is bent.
- There is too much gap between the manual pull rod and the washer.
- The gearbox motor lubricant has lost its effect.
Loud Noise From the Shutter
A healthy unit runs quietly. Loud noise points to mechanical resistance.
- The shutter motor rail resistance is too high.
- The mounting plate fasteners are loose.
- The chain or sprocket has worn from long use.
Most of these checks need only a visual look and a multimeter. If the fault points to the motor or brake internals, stop and call RHIDOOR — your transparent shopfront roller shutter should run quietly, and forcing it risks more damage.

Related Articles
- Maintenance That Extends Your Roller Shutter’s Life
- Repair Methods for Different Roller Shutter Types
- How Much Do You Know About Electric Roller Shutter Care?
- Fixing Common Garage Door Faults
If you’re stocking spares or planning an upgrade, we take orders from 1 pc and ship within 15 days, so you keep a backup on hand without locking cash in a big batch.
Ready to upgrade your facility? Let our experts help you find the right RHIDOOR crystal roller shutter for your storefront. Contact us today: phone +86 18938501256, WhatsApp wa.me/8618938501256, email ruihua@rhidoor.com.

Related Articles
- complete industrial roller shutter guide
- how to choose a quality crystal roller shutter
- crystal shutter buying guide
- advantages of crystal roller shutter doors
- fire-rated roller shutter fault Q&A
- Crystal shutter vs the traditional alternative
Fire rated roller shutters go into malls, buildings, and underground garages as a matter of course. Installing one — especially a steel composite fire shutter or an inorganic twin-track twin-curtain premium fire shutter — takes a defined sequence. This fire rated shutter installation guide walks through each step RHIDOOR uses on site.
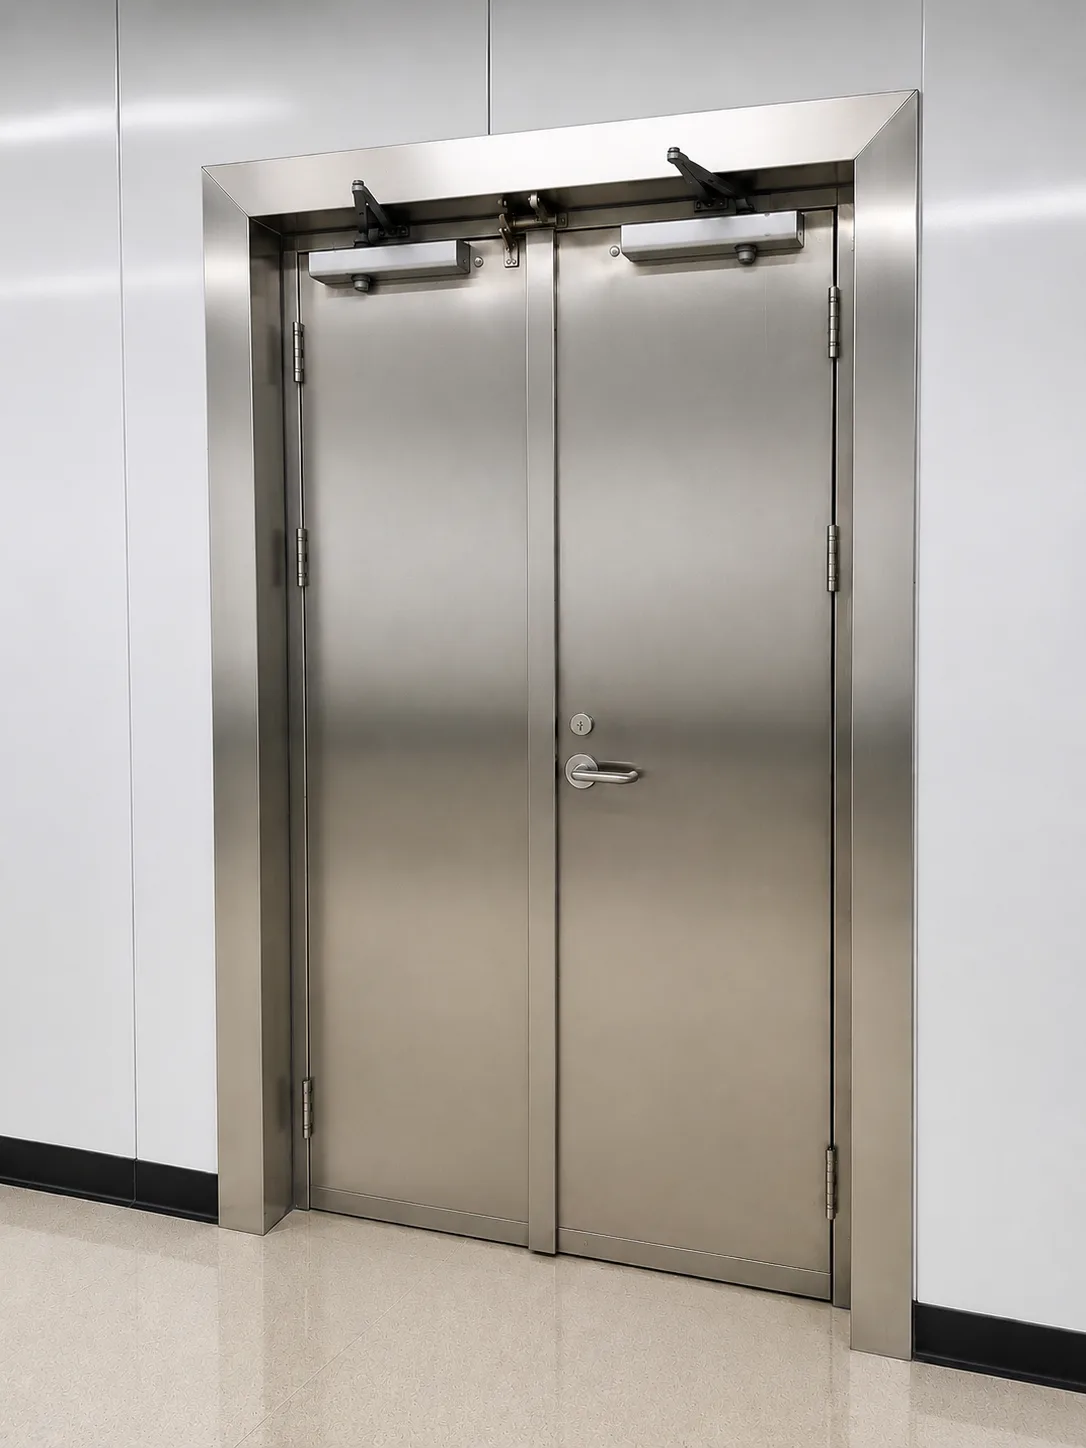
Step 1: Install the Fire Rated Roller Shutter Guide Rails
- On both sides of the shutter, set the rail position. Drop a plumb line for the rail baseline and mark the bolt crosses for the rail connectors. The rail must extend at least 75 cm above the ceiling.
- Use an impact drill on the wall column to make the expansion bolt holes for the connectors. Connector spacing must not exceed 600 mm; ends sit 100 mm from the rail mouth.
- Fit the remaining connectors. Spot-weld connectors to rails, at least 5 spots per connector-rail pair.
Step 2: Mark and Drill the Shaft Supports
- From the shaft center height on the drawing, mark the active support plate center on the column or wall, and mark the expansion bolt cross.
- From the active support plate center, use a level plastic tube to find the matching passive support plate center and its expansion bolt cross.
- Drill. Use an impact drill for the expansion holes, bit vertical to the column face. If a hole hits rebar and will not go, shift a bit, but do not hurt the hold or the look.
Step 3: Install the Straight Support Plates
- Fit the active support plate (drive bracket pre-connected and welded to the plate). Tighten the expansion bolt through the plate hole with a nut, spring washer, and flat washer. The plate face must be vertical to the shaft.
- Fit the passive plate the same way, but before tightening, run a level tube to check its center height matches the active plate. Level within 1/300 of the opening height; adjust if off.
- The support plate carries the whole door weight. Some plates, though bolted, are not firm enough, so add a brace or stiffener, fixed and welded on site. On brick walls, use through-bolts.
Step 4: Lift and Fit the Shutter Shaft
- Before fitting, set the hanger direction on the shaft, mount 4 to 6 curtain slats on the hanger and roll them tight on the shaft, tie with wire.
- Lift the shaft. Safety first: a dedicated signaler, and check the A-frame, scaffold, and chain hoist. Fit the polished shaft with bearing and seat into the shaft end hole, align, then tighten the bearing bolt.
- After the shaft is on, move the drum left or right to adjust. Use a level and level tube to recheck shaft level. After adjusting, fully weld the polished shaft to the shaft, and fix the polished shaft to the bearing with a set screw.
- When lifting the shaft, take care not to damage the slats rolled on it. Pad with wood when binding with a steel rope.
Step 5: Install the Curtain Slats
- Loosen a few slats on the roll, use a level tube and ruler to check the curtain unevenness is within 1/300 of the opening height. If it tilts out of range, find the cause and adjust.
- Use the shaft rotation to thread the slats, then fit the bottom beam. When fitting slats, watch the end caps. If you pre-thread the rest together, take care in moving and binding not to deform them.
- Check the top arc bend of the rail fits, then lower the curtain and walk it to see if it catches.
Step 6: Install the Control Box and Lock Box
- Mark the lock box and control box bolt crosses as required. Install them level and plumb, fix firmly.
- Run conduit between lock box and control box. Screw both ends with special nuts. If the client wants, use copper joints. Conduit clamps are usually within 100 cm spacing.
- Fit the control board and limit switch.
- Connect the electric lines, switch lines, power lines, signal lines, and so on. Follow your local low-voltage electrical installation code. Wrap both ends of wires in the flexible metal tube with plastic or wax tube. The ground wire is two-color; make sure the ground is firmly fixed.
- Power on, lower the curtain a third by button, roll the slats, set the upper and lower limits, then run it up and down a few times to check for smooth travel.
Explore the Range
Related Articles
- Things to Watch During Fire Rated Roller Shutter Installation
- How to Inspect an Installed Fire Rated Roller Shutter
- Where to Place a Fire Rated Roller Shutter
- Fire Rated Shutter Control Box: Notes and Wiring
Talk to Our Engineers
Installing a fire rated roller shutter is a sequence, not a guess. RHIDOOR builds to order at MOQ 1 pc with a 15-day lead time, and our engineers provide on-site guidance so the install follows this exact sequence. Reach us at +86 18938501256, WhatsApp wa.me/8618938501256, or email ruihua@rhidoor.com.
Related Articles
- complete fire-rated roller shutter guide
- fire-rated roller shutter installation notes
- fire-rated roller shutter site wiring
- fire-rated shutter control box wiring
- install an electric roller shutter
An electric roller shutter is usually the motorized door you see on a shop or a mall entrance. It is a series of jointed slats linked in a chain, rotating around a fixed shaft above the opening. This electric roller shutter installation guide walks through the method our installers use on site.

How to Install an Electric Roller Shutter
- Site survey. A RHIDOOR engineer visits at the agreed time to survey the site at no charge, confirm the size, the install method, and your requirements, then we build the roller shutter to match.
- Delivery and tools. Our delivery team brings the shutter and a pro installer to site. Before work, get the tools ready: welder, electric hammer, hand drill, ladder, drill bits, cutting head, level, screwdrivers, and the small fittings.
- Mark the lines. From the site, mark a line 50 cm above the side-plate opening. Use a level to mark a vertical line 13 cm from the opening, then a vertical line 9 cm from the auxiliary plate on the frame. Fix the side plate on the vertical line, and mark a horizontal line at its highest point.
- Test the handle and motor. Fix the motor to the main board, link the wheel to the motor base with a chain, and connect the remote box to the motor. Check whether the handle is reversed; if the remote receiver is mounted upside down, pull the built-in black button.
- Weld it solid. After setting the right size, weld the electric roller shutter firmly to the shaft so the drill can bore vertically and seat. Check the power is live. Pull the track into a saw-tooth shape, level the shutter, confirm the upper and lower lines are right, then raise it with the screw.
- Check and test. After power on, pull the switch to run a lift demo and confirm there is no fault. Check the track is smooth and clean, and the button does not bounce or fail.
Explore the Range
Related Articles
- Things to Watch During Fire Rated Roller Shutter Installation
- How to Inspect a Roller Shutter Motor After Install
- How to Inspect an Installed Fire Rated Roller Shutter
- Fire Rated Roller Shutter Installation Steps
Talk to Our Engineers
Installing an electric roller shutter on your own? RHIDOOR builds to order at MOQ 1 pc with a 15-day lead time, and our engineers provide on-site guidance so the install goes in right. Reach us at +86 18938501256, WhatsApp wa.me/8618938501256, or email ruihua@rhidoor.com.
Related Articles
- complete industrial roller shutter guide
- aluminum alloy roller shutter profiles
- choosing electric roller shutter material
- high-speed shutter won’t start or loses power
- fire-rated roller shutter installation steps
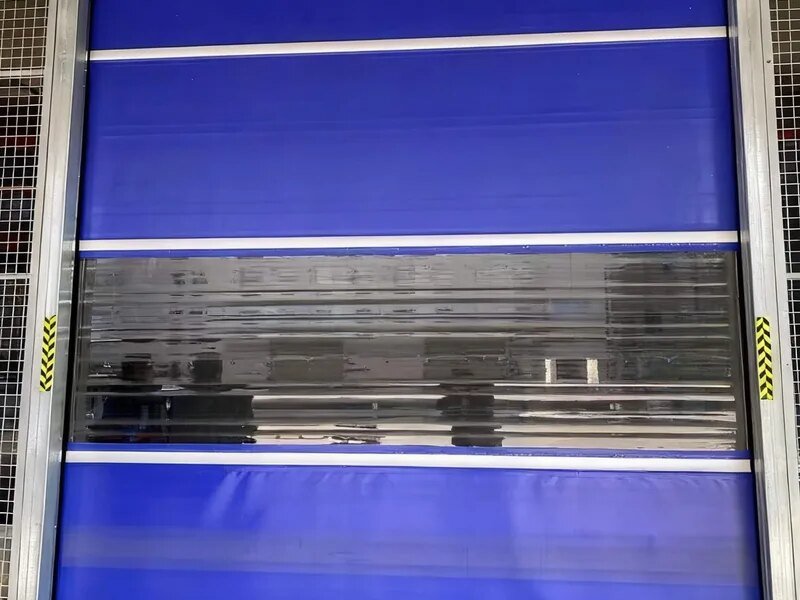
How many control methods does a high speed roller shutter really have? Four. The most common setups are a wired control box with linked control, a wireless remote (usually 433 MHz) with a handheld transmitter, and an external system such as an automatic roller shutter release run by an embedded controller or a computer that reads the plate number and opens the shutter on its own.
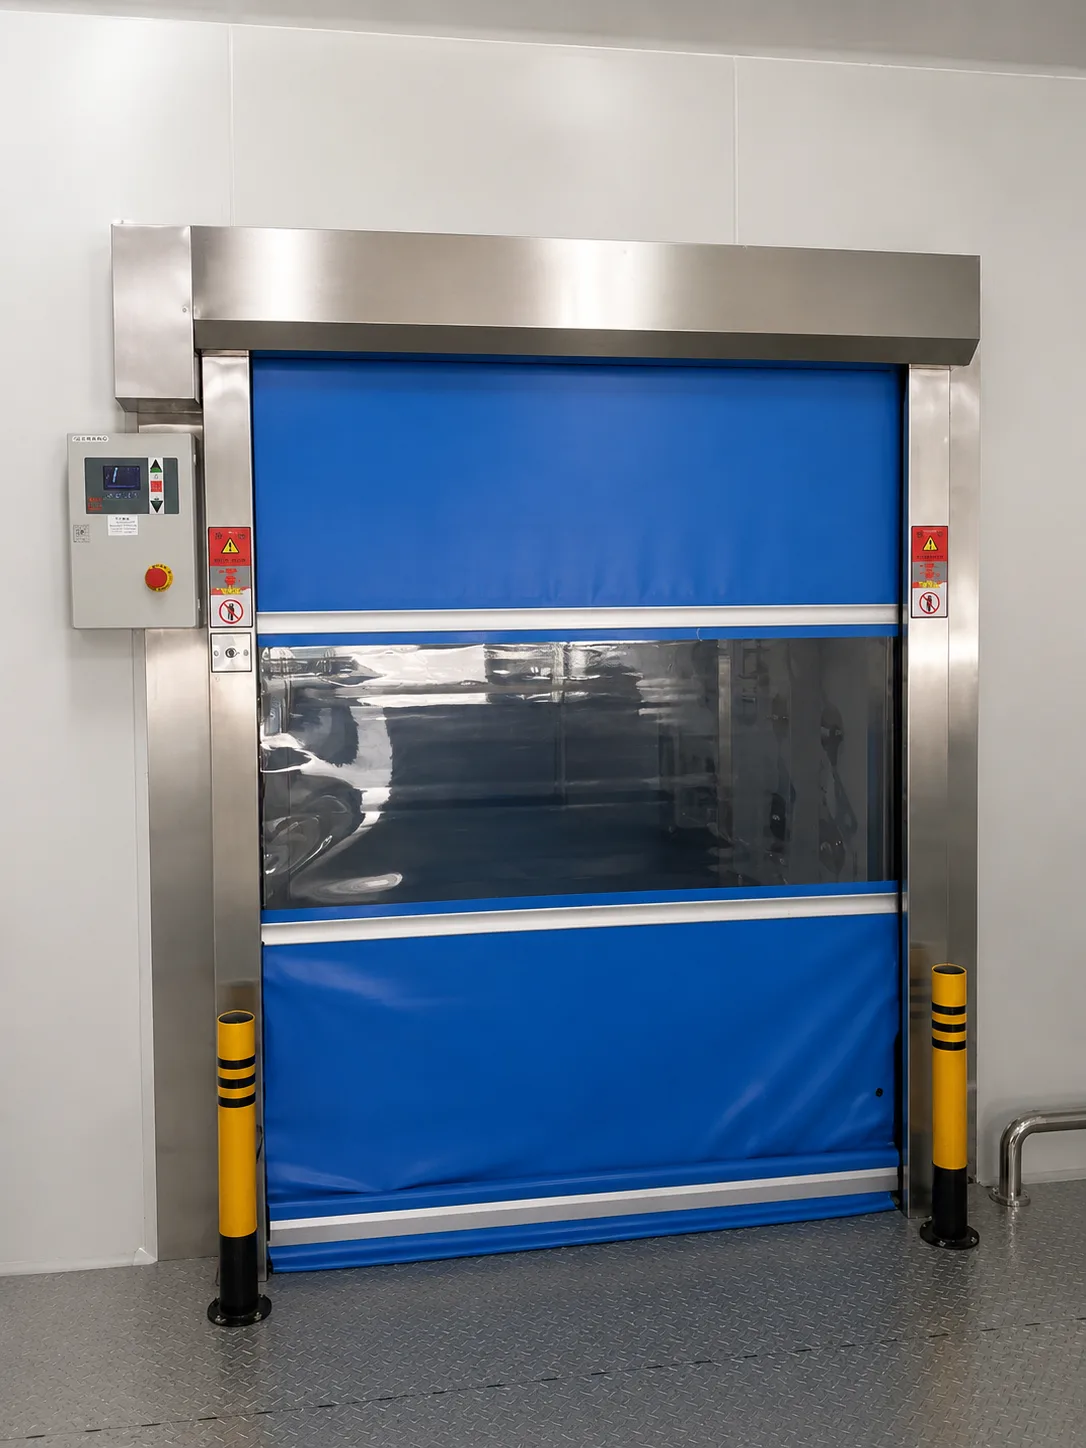
Rapid Roller Door Control Methods
Here are the four parts that make up the control side of the door.
1. Transformer. The transformer is the simplest electrical part in a roller shutter. On higher-end models we add a fuse at the transformer output. If the motor overloads, the fuse trips and protects the controller — that is what keeps the whole system safe.
2. Drive motor and overheat protection. The drive motor is where speed and force come from. High-end roller shutters use brushless variable-speed motors: high power, adjustable speed. A speed encoder on the drive motor holds the open-close speed accurate, and the overheat protector is what gives the controller a longer working life.
3. Lock. The lock is the base of door control and access. Roller shutters use two lock types. Ordinary ones use an electromagnetic lock working through a toothed belt; heavier ones use an electromechanical lock on the door hanger. The lock must signal the controller when it is engaged, so the door does not restart from inside and damage the operator. To work with an access system, the controller has to coordinate the unlock and open actions. On high-end doors the unlock signal fires 0.1 second before the open signal — important for roller shutters. If those two actions are not sequenced and the door locks while level, faults are easy. That is why low-level roller shutters that need locking get a dedicated circuit module.
4. Controller. The controller is the heart of the roller shutter. Its development tracks industrial automation and chip design, moving from analog circuits to microprocessors. Digital program control is what lifted modern roller shutters to a new level across the board.
High-Speed Roller Shutter Installation
- Place the control box inside the attendant room — that is the device that works the roller shutter switch.
- Run 220V power down to the bottom of the control box. Add a ground wire (about 1.37 mm²) with leakage protection, laid in PVC conduit.
- Reserve a 32 mm PVC pipe from the bottom of the control box, down below floor level and out through the wall, ending about 0.1–0.15 m below floor at the track. This is for future outdoor lines to enter.
- From the table, take the opening length. When building the opening, keep the clear inside width at least 0.75–0.8 m. Clear height is at least door height + 0.25 m for a normal door, or + 0.1 m for a deluxe door. At the top inner end, leave a service hole 0.4 m wide by 0.6 m high. If you can, add 0.2–0.3 m to the total opening length so the service hole becomes a small door for later electric-line maintenance.
- Before laying track, leave about 0.8–0.9 m width clear and do the ground on both sides first. Wait 2–3 days (5–7 in winter), then lay the track and have the civil works do the track ground at the same time. Keep traffic off the surface while laying, or the track bends.
- Install the roller shutter, connect the lines, and test the switch control box.
High Speed Shutter Power Outage Fix
A high speed roller shutter runs on 220V and leans on the controller for every move. When the supply drops, the door needs a defined fail-safe so it does not sit half-open across a doorway. On RHIDOOR units the curtain holds position or descends under spring force, and a manual crank lets you operate it by hand until power returns. Build that into your spec and the high speed shutter power outage fix is settled before you install.
Explore the Range
Related Articles
- Fire Rated Shutter Control Box: Notes and Wiring
- Repair Methods for Different Roller Shutter Types
- What to Do When a High-Speed Shutter Won’t Start or Loses Power
- Quick Guide to Pairing Your Roller Shutter Remote
Talk to Our Engineers
You don’t need a big order to move fast — we take orders from 1 pc and ship within 15 days, every time.
Ready to specify a high speed roller shutter for your site? Our engineers will walk you through the right control method and the installation plan. RHIDOOR builds to order with a 15-day lead time and sends an engineer for on-site guidance — you get installation, not just a box at the dock. Reach us at +86 18938501256, WhatsApp wa.me/8618938501256, or email ruihua@rhidoor.com.